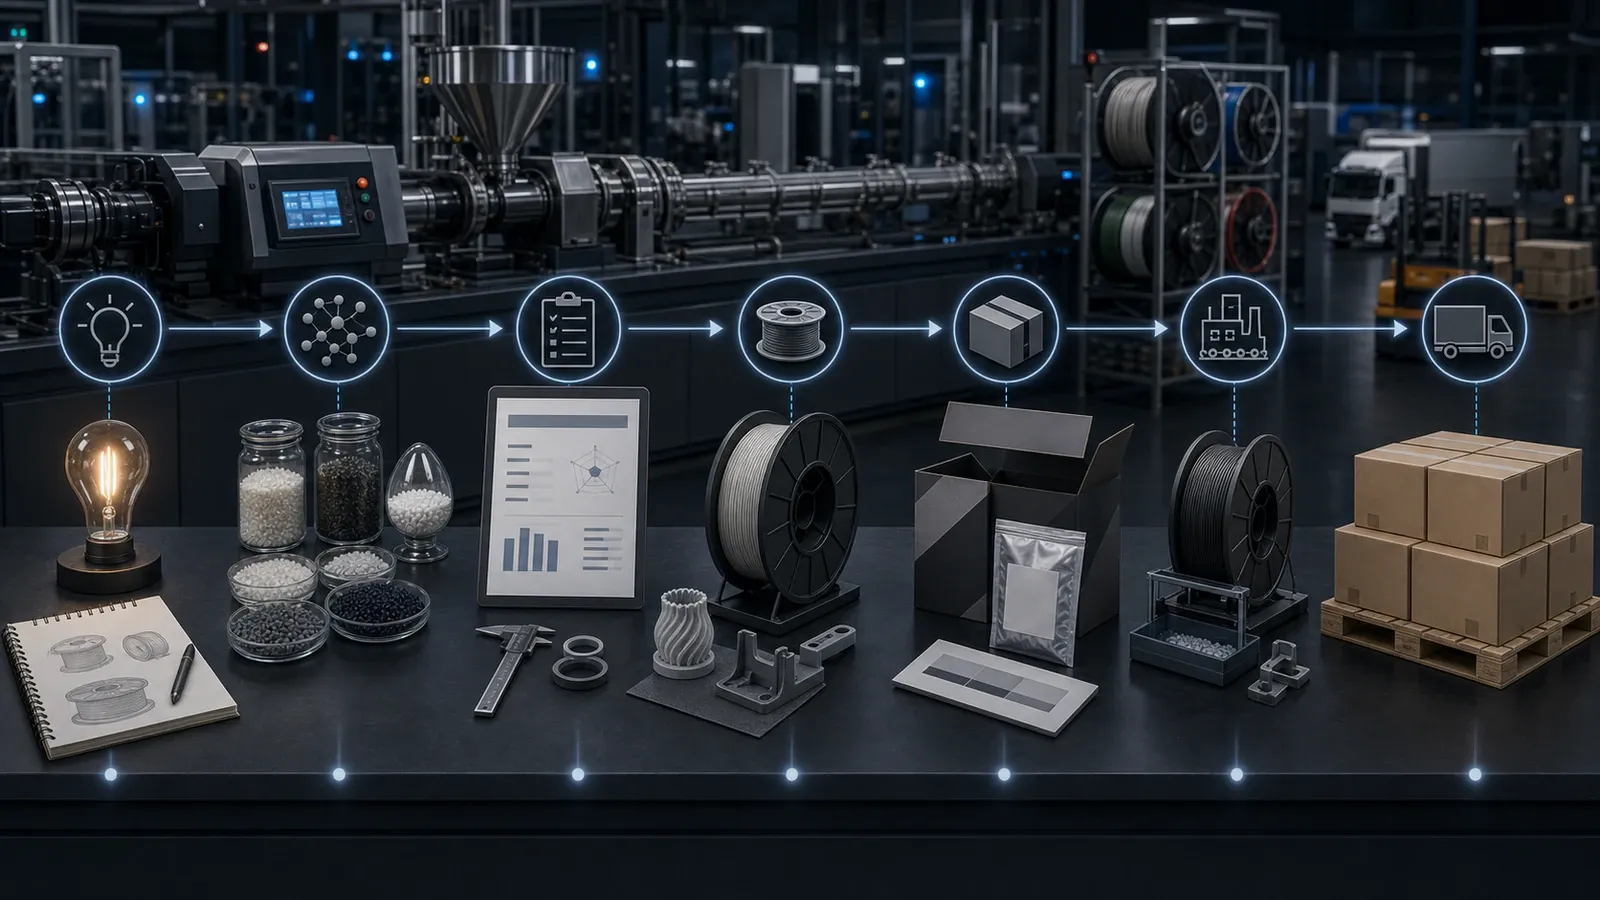
Launching your own filament brand is not just “finding a place to print a logo on a spool.” It is a sequence of technical and organizational decisions, each of which affects cost, batch repeatability, and material behavior on your customers’ printers. Below is a practical plan from the first technical brief to the first serial batch for brands, distributors, 3D print farms, and manufacturing teams.
Step 1. Define the Product and Cooperation Model
First, separate the formats. White label is a manufacturer’s ready-made standard material with minimal adaptation of marking or packaging. Private label is a validated material, but with your brand, your SKU line, label, and packaging. OEM / custom formulation is used when non-standard properties are required: a certain hardness, filler, color range, or behavior for a specific application.
The choice depends on what you sell. A fast market launch with a validated material under your own brand is one strategy. A differentiated custom formulation is another, with a longer approval cycle. At this stage, also define the sales channel, typical printer models, expected application areas, price positioning, and number of SKUs at launch. An excessively wide assortment increases costs for samples, design, packaging, inventory leftovers, and line cleaning between materials and colors.
Step 2. Select the Material for the Real Application
A selection mistake here is the most expensive one because it becomes visible on the customer’s printer.
- PLA is the easiest to print, with good geometric accuracy, but limited thermal and mechanical resistance. It is suitable for prototypes and visual models.
- PETG is a reliable compromise between strength and printability, with good stability for repeatable small series.
- ABS+ / ASA are engineering materials with better heat and impact resistance. ABS is usually chosen for indoor products; ASA is used where there is UV and weather exposure because it is more resistant to yellowing. Both require a closed chamber and shrinkage control.
- Nylon / PA is a whole family (PA6, PA12, copolyamides, reinforced variants) with noticeably different strength, wear resistance, and heat resistance. Moisture sensitivity makes drying and packaging part of the material selection itself.
- TPU is a flexible material whose hardness is usually specified on the Shore A scale. Grade 95A is the most print-friendly. Softer grades, for example 85A, provide greater flexibility but print more slowly and are less dimensionally stable.
If standard materials do not cover the task, the next level is a custom formulation or color. Here, it is appropriate to agree on samples for testing before finalizing the technical brief. For a first launch, it is more practical to choose a small basic line: one material in several commercially important colors, or several materials in neutral colors.
Step 3. Prepare the Technical Brief
The technical brief is the document that lets the manufacturer reproduce your product batch after batch. The minimum set of parameters:
- material and grade, including Shore hardness for TPU or polyamide type for nylon;
- diameter, 1.75 mm or 2.85 mm, and tolerance requirements. If the diameter “floats,” the printer extrudes unevenly: over- or under-extrusion and a risk of nozzle clogging. Ovality has the same effect. The tighter the tolerance, the more stable the printing and the higher the cost, so a stricter tolerance should be specified where the customer will actually feel it;
- color and requirements for repeatability between batches, using a physical reference, Pantone, or RAL;
- spool format: type, net weight, inner diameter, spool material, winding requirements;
- marking and packaging: batch data, vacuum sealing, desiccant, label and box design.
Do not copy another brand’s specification without analysis. Declared diameter accuracy, print temperatures, or mechanical characteristics must match the actual material and process capability.
Step 4. Agree on Samples and the Reference Result
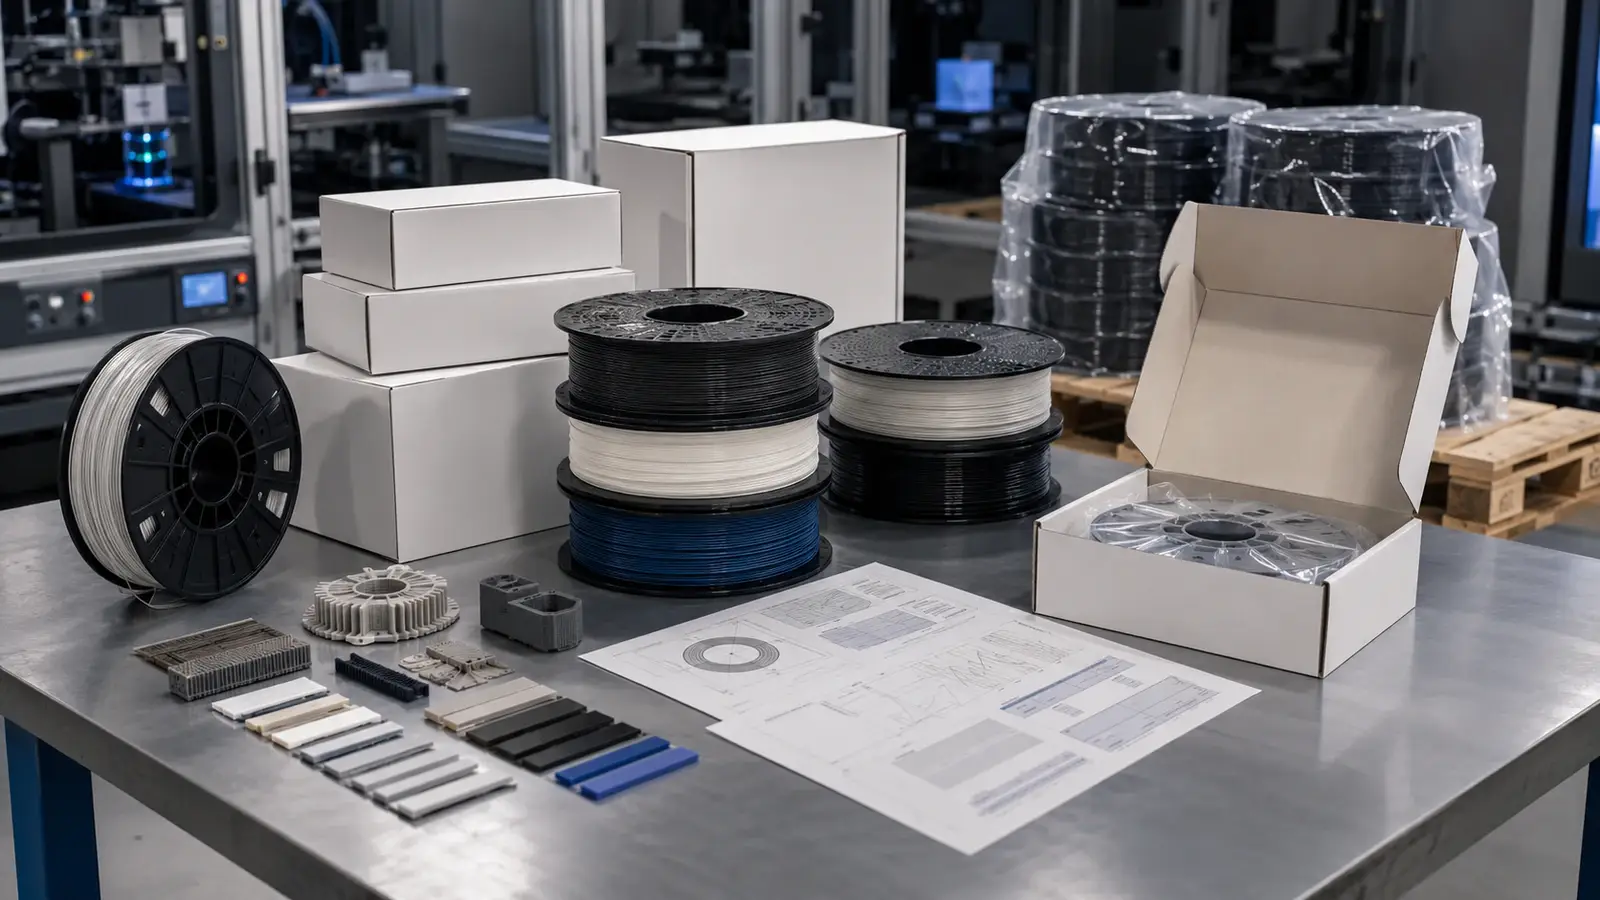
Before series production, a test cycle is required: the manufacturer makes a sample, and the customer checks it on their equipment and typical models. During testing, assess feeding stability, winding quality, filament surface, first-layer behavior, stringing, bridges and overhangs, part geometry, interlayer adhesion, color and gloss, and long-print results. For hygroscopic materials, record sample condition, storage conditions, and drying conditions. Formalize the approved sample as a reference: keep the spool or a portion of material, photographs, test model files, slicer profile, and results protocol.
Step 5. Develop Packaging and Marking
Packaging protects the material and communicates information to the buyer. The label usually includes material name and type, color and SKU, diameter, net weight, batch number, approximate print parameter range, storage recommendations, brand/manufacturer data, and barcode. Check the marking content according to the sales market: Ukraine, the EU, marketplaces, or a specific distributor may have different requirements.
For PA/Nylon, TPU, and other moisture-sensitive materials, the barrier bag, high-quality hermetic sealing, and desiccant are critical. Vacuum alone does not replace properly selected packaging material, and desiccant does not fix filament that was already packaged in a wet condition.
Step 6. Run a Pilot Batch
A pilot batch checks not a single sample, but the whole process: extrusion, cooling, diameter control, winding, marking, and packaging. During acceptance, samples are taken from different parts of the production cycle to assess stability of color, geometry, weight, and printing behavior. Acceptance criteria must be agreed before launch. Phrases such as “good quality” or “premium filament” do not make it possible to decide objectively whether the batch meets requirements.
Step 7. Fix the Quality Control and Repeatability System
An own brand depends on the second and tenth batches behaving the same way as the first. Controlled parameters may include diameter and its stability, ovality, surface appearance, color, net weight, winding quality, moisture or compliance with the drying procedure, absence of contamination, control-print results, and correctness of label and packaging. The batch number must connect the finished spool with production date, raw material, color, and inspection results. This traceability simplifies complaint analysis and adjustment of subsequent orders. It should be fixed as a requirement, not a hope.
Step 8. Move to the First Serial Batch and Scaling
After the pilot is approved, the specification is fixed as the working version. Further changes to the formulation, pigment, spool, bag, or label are approved separately. A sensible first-series volume is one that lets you enter the market and collect feedback, but does not freeze excessive working capital in material of one specification. MOQ and cost should be discussed not as isolated numbers, but together with the assortment structure. Sometimes one larger run of a base product is more economically reasonable than launching many small SKUs at once.
After receiving the first batch, collect feedback: feeding stability, print quality, behavior on long jobs, packaging convenience, label clarity, and frequency of support requests. These data will help plan the next batch and line expansion more accurately.
What to Agree with the Manufacturer in Advance
Before the start, both parties should have the same understanding of who approves the formulation and color, which parameters are checked, which sample is the reference, who prepares label design and texts and is responsible for checking marking, how batches are identified, how changes are documented, and how complaints are reviewed.
Bokotech works under a contract manufacturing model and discusses OEM / private label formats: material and color selection, TPU Shore hardness, spool format, marking and packaging, quality control requirements, and conditions for repeatable batches. Most of these decisions are agreed technically before the series starts. This is the stage where the future brand’s stability is built in.
Contract manufacturing makes it possible to focus on brand, sales, and customer work, but technical decisions should not be fully handed over to the manufacturer without an agreed specification. The more precisely the material, color, spool format, packaging, and acceptance procedure are defined, the easier it is to scale the line without losing quality.